Egg Tempera For Beginners
Learn to create your own egg tempera paintings from scratch and handle this historic medium with confidence. Through this course you’ll know how to mix pigments and apply them in thin, luminous layers to build depth and vibrant color in your work.
3 Monthly Payments
$99
9+ hours of content
80 video lessons
9 modules
30-Day money back guarantee
Lifetime access
Access to the private community
Access on any device
Our Support
Bonus module: Making Egg Tempera Panels ($97 FREE)
Popular
1 Payment
$297
9+ hours of content
80 video lessons
9 modules
30-Day money back guarantee
Lifetime access
Access to the private community
Access on any device
Our Support
Bonus module: Making Egg Tempera Panels ($97 FREE)
Lifetime Members
$0
For returning course members only, sign up here to create new login info.
Egg Tempera For Beginners
This comprehensive course has everything you need to start painting in egg tempera, guided by two experienced, talented instructors who bring their professional art careers and years of expertise to every lesson. The course has 9 modules and over 9 hours of learning and practicing. It also includes over 80 video tutorials!
You can pause and replay the videos as much as you want. It is best to take the course lessons in order, as each lesson builds upon the last and thoroughly introduces and supports each new skill you are acquiring.
The course as a whole is a comprehensive guide through your first experiences with egg tempera, taking you from a complete novice to someone with deep understanding of the medium, experience, and powerful skills for creation.
Anyone can paint with egg tempera!
-
-
A quick introduction to the course and warm welcome from your instructors.
-
Who We Are
Meet your teachers! Learn about our background in art, our expertise in egg tempera, and how we came to love with this amazing medium in the first place.
Meet your teachers! Learn about our background in art, our expertise in egg tempera, and how we came to love with this amazing medium in the first place.
-
A Brief History of Egg Tempera
Egg tempera is one of the oldest and most durable painting mediums, known for its vibrant colors and detailed work. This section will explore its rich history from ancient times to its revival in modern art.
Egg tempera is one of the oldest and most durable painting mediums, known for its vibrant colors and detailed work. This section will explore its rich history from ancient times to its revival in modern art.
-
How To Get The Most Out Of This Course
In this course you will learn the foundational techniques of egg tempera painting, from preparing your materials to mastering the application and layering of paint. We share tips for how to get the most out of this course, so you maximize your learning and gain valuable experience working with the medium.
In this course you will learn the foundational techniques of egg tempera painting, from preparing your materials to mastering the application and layering of paint. We share tips for how to get the most out of this course, so you maximize your learning and gain valuable experience working with the medium.
-
-
-
An Introduction To Your Materials
We are going to take an in depth look at everything from pigments to surfaces, brushes to additives, and anything else you may need for painting in egg tempera, and this course.
We are going to take an in depth look at everything from pigments to surfaces, brushes to additives, and anything else you may need for painting in egg tempera, and this course.
-
Supplies For Egg Tempera
This section will introduce you to the essential materials needed for painting in egg tempera. This course requires specific materials, including a selection of pigments, eggs, water, and selected brushes, all of which we will detail for your preparation.
This section will introduce you to the essential materials needed for painting in egg tempera. This course requires specific materials, including a selection of pigments, eggs, water, and selected brushes, all of which we will detail for your preparation.
-
Substrates
Learn about a variety of different surfaces or substrates that are compatible with egg tempera, including both traditional and modern options, and some really useful ready-made selections. You will learn what is suggested for the painting and various exercises in this course.
Learn about a variety of different surfaces or substrates that are compatible with egg tempera, including both traditional and modern options, and some really useful ready-made selections. You will learn what is suggested for the painting and various exercises in this course.
-
Pigments
In this lesson, Candice will introduce the pigments that we will be using for this course, and discuss pigments in general. You will learn the difference between natural and synthetic, organic and inorganic, as well as some toxic pigments and excellent non-toxic alternatives. She will show you what to expect when buying pigments, some common sizes they are available in, how much you will need, and how to handle your pigments with ease.
In this lesson, Candice will introduce the pigments that we will be using for this course, and discuss pigments in general. You will learn the difference between natural and synthetic, organic and inorganic, as well as some toxic pigments and excellent non-toxic alternatives. She will show you what to expect when buying pigments, some common sizes they are available in, how much you will need, and how to handle your pigments with ease.
-
Brushes for Egg Tempera
Learn about the different varieties of brushes available to an egg tempera artist and which ones are especially helpful.
Learn about the different varieties of brushes available to an egg tempera artist and which ones are especially helpful.
-
Palettes
In this lesson, Julio introduces some excellent choices for egg tempera palettes, and some that you should definitely avoid! He shows you how to organize your egg tempera palette and workspace in a way we recommend, and explains the reason behind keeping your palette organized in the same manner each day you work.
In this lesson, Julio introduces some excellent choices for egg tempera palettes, and some that you should definitely avoid! He shows you how to organize your egg tempera palette and workspace in a way we recommend, and explains the reason behind keeping your palette organized in the same manner each day you work.
-
Materials List And Vendors
In this video Candice specifies what exact materials you should acquire, and some current vendors for these materials. Attached to this lesson is a PDF of the reccommended course materials that you can download for your own use.
In this video Candice specifies what exact materials you should acquire, and some current vendors for these materials. Attached to this lesson is a PDF of the reccommended course materials that you can download for your own use.
-
How To Make A Glass Palette
In this bonus lesson, learn how you can make your own simple and effective glass palette perfect for painting with egg tempera, with just a few simple items.
In this bonus lesson, learn how you can make your own simple and effective glass palette perfect for painting with egg tempera, with just a few simple items.
-
Images For You
For this course, choose an image that works well on the size of the panel you are procuring. Anything that you wish to paint, and are inspired to tackle in egg tempera, will be perfect for this first painting. If you have strong skills in another medium, feel free to choose something more challenging.
For this course, choose an image that works well on the size of the panel you are procuring. Anything that you wish to paint, and are inspired to tackle in egg tempera, will be perfect for this first painting. If you have strong skills in another medium, feel free to choose something more challenging.
-
-
-
Introduction to Drawing and Inking
Learn to create precise drawings and ink underpaintings for egg tempera, mastering techniques to transfer designs, establish values, and set a strong foundation for vibrant paintings. This video is a quick overview of what we will be teaching in this module.
Learn to create precise drawings and ink underpaintings for egg tempera, mastering techniques to transfer designs, establish values, and set a strong foundation for vibrant paintings. This video is a quick overview of what we will be teaching in this module.
-
Drawing Demo
In this lesson, Julio demonstrates how to create a simple yet accurate drawing directly onto his panel, creating the perfect framework for future painting.
In this lesson, Julio demonstrates how to create a simple yet accurate drawing directly onto his panel, creating the perfect framework for future painting.
-
How To Transfer A Drawing
In this lesson, Candice shows you how to transfer a drawing onto your panel, without ruining the original drawing. This method is excellent for those who prefer to create detailed drawings on paper, and then transfer the important framework lines to a panel. For this method you will need a sheet of transparency film, wax free transfer paper, an extra fine sharpie, and a pencil.
In this lesson, Candice shows you how to transfer a drawing onto your panel, without ruining the original drawing. This method is excellent for those who prefer to create detailed drawings on paper, and then transfer the important framework lines to a panel. For this method you will need a sheet of transparency film, wax free transfer paper, an extra fine sharpie, and a pencil.
-
Trace And Transfer
In this lesson, Candice shows a simple method of tracing and transferring a printed image or a drawing on paper onto your panel. This method is great for those of you who want to get right to painting, and not expend the time or energy trying to make an accurate drawing today. For this method you will need an image the same size as your panel, a piece of wax free transfer paper, a pencil, and some tape.
In this lesson, Candice shows a simple method of tracing and transferring a printed image or a drawing on paper onto your panel. This method is great for those of you who want to get right to painting, and not expend the time or energy trying to make an accurate drawing today. For this method you will need an image the same size as your panel, a piece of wax free transfer paper, a pencil, and some tape.
-
What Is An Ink Underpainting
In this lesson, we explain the significance of utilizing an ink underpainting, why you might want to create one, and how it helps you build your egg tempera paintings faster.
In this lesson, we explain the significance of utilizing an ink underpainting, why you might want to create one, and how it helps you build your egg tempera paintings faster.
-
Setting Up For Ink
Learn how to set up for ink painting, what tools you might need, and how to work with the ink.
Learn how to set up for ink painting, what tools you might need, and how to work with the ink.
-
Inking Practice - Ink Sphere 1
In this lesson Julio paints a sphere in ink, showing you how to use your brushes and ink to create believable three dimensional forms with a crosshatching technique. This is an exercise we want you to recreate yourself in your stone paper sketchbook, in order to get familiar with your brushes, water control, applying ink, crosshatching, and building form with this method. We will use these ink paintings of spheres in a future module to practice painting in egg tempera.
In this lesson Julio paints a sphere in ink, showing you how to use your brushes and ink to create believable three dimensional forms with a crosshatching technique. This is an exercise we want you to recreate yourself in your stone paper sketchbook, in order to get familiar with your brushes, water control, applying ink, crosshatching, and building form with this method. We will use these ink paintings of spheres in a future module to practice painting in egg tempera.
-
Inking Practice - Sphere 2
In this lesson Julio paints a second sphere in ink, showing you how to build believable three dimensional forms with loose, larger brushwork, abandoning crosshatching. This is an exercise we want you to recreate yourself in your stone paper sketchbook, in order to get familiar with your brushes, water control, applying ink, and building form with this method. We will use these ink paintings of spheres in a future module to practice painting in egg tempera.
In this lesson Julio paints a second sphere in ink, showing you how to build believable three dimensional forms with loose, larger brushwork, abandoning crosshatching. This is an exercise we want you to recreate yourself in your stone paper sketchbook, in order to get familiar with your brushes, water control, applying ink, and building form with this method. We will use these ink paintings of spheres in a future module to practice painting in egg tempera.
-
Inking The Main Painting - Part 1
After painting the spheres, you are well warmed up and ready to use ink for your underpainting! In this lesson Julio starts building an ink underpainting, locking his drawing into place and making his first value statements.
After painting the spheres, you are well warmed up and ready to use ink for your underpainting! In this lesson Julio starts building an ink underpainting, locking his drawing into place and making his first value statements.
-
Inking The Main Painting - Part 2
In this lesson, Julio finishes his ink underpainting, giving himself an excellent base for all future painting done on this panel. He has locked in his drawing and made intelligent value decisions before ever having to wrestle with color. It is at this stage of our course, we ask that you stop your lessons, and create your ink underpainting on your panel.
In this lesson, Julio finishes his ink underpainting, giving himself an excellent base for all future painting done on this panel. He has locked in his drawing and made intelligent value decisions before ever having to wrestle with color. It is at this stage of our course, we ask that you stop your lessons, and create your ink underpainting on your panel.
-
-
-
A brief overview of what you will be learning in this module.
-
Separating The Yolk
Let's talk about eggs!! Learn which eggs are best for egg tempera, and the technique for separating the egg yolk from the white, which is crucial for the purity and quality of the paint.
Let's talk about eggs!! Learn which eggs are best for egg tempera, and the technique for separating the egg yolk from the white, which is crucial for the purity and quality of the paint.
-
Mixing Egg Tempera
This section covers the precise measurements and steps needed to combine water, egg yolk and pigment in to a paint mixture that is well tempered. We will create a strong, durable paint film that is both smooth and well bound.
This section covers the precise measurements and steps needed to combine water, egg yolk and pigment in to a paint mixture that is well tempered. We will create a strong, durable paint film that is both smooth and well bound.
-
Working With Hydrophobic Pigments
Delve into the challenges and solutions for handling pigments that resist water, ensuring that they blend well with the egg medium. With these methods of overcoming hydrophobic pigments, many modern colors are available for you to use as you wish!
Delve into the challenges and solutions for handling pigments that resist water, ensuring that they blend well with the egg medium. With these methods of overcoming hydrophobic pigments, many modern colors are available for you to use as you wish!
-
Helpful Additives
Explore various additives that can enhance the properties of egg tempera, such as stabilizers and preservatives, and how to incorporate them effectively.
Explore various additives that can enhance the properties of egg tempera, such as stabilizers and preservatives, and how to incorporate them effectively.
-
Testing Your Paints
Learn how to test your batches of paint for consistency and strength. You will learn what a well tempered paint feels like, along with methods to correct any issues that arise.
Learn how to test your batches of paint for consistency and strength. You will learn what a well tempered paint feels like, along with methods to correct any issues that arise.
-
Paint Maintenance
Techniques for keeping your paint ready for use, including proper stirring for even pigment distribution, and methods for storage to maintain the paint's usability over time.
Techniques for keeping your paint ready for use, including proper stirring for even pigment distribution, and methods for storage to maintain the paint's usability over time.
-
-
-
Introduction To Starting To Paint
A brief overview of all the lessons you will be learning in this huge module!
A brief overview of all the lessons you will be learning in this huge module!
-
A helpful guide to setting up your palette each day.
-
How To Properly Load A Brush
In this delightful and brief lesson, Candice shows the difference between an improperly loaded brush, and a well loaded brush - demonstrating the EXTREME difference it can make in your workflow.
In this delightful and brief lesson, Candice shows the difference between an improperly loaded brush, and a well loaded brush - demonstrating the EXTREME difference it can make in your workflow.
-
Water Control
Learn how to control the amount of water on your brush, in order to build your layers faster, adjust translucency/opacity, and avoid costly mistakes.
Learn how to control the amount of water on your brush, in order to build your layers faster, adjust translucency/opacity, and avoid costly mistakes.
-
The Versatility Of A Single Brush
Do you need a ton of amazing brushes to create works in egg tempera? Not at all! In this brief lesson we teach you how to maximize the usefulness and versatility of a single brush…
Do you need a ton of amazing brushes to create works in egg tempera? Not at all! In this brief lesson we teach you how to maximize the usefulness and versatility of a single brush…
-
Glazing Color Over Spheres
In this lesson we are going to paint over our ink spheres in egg tempera! We will gain experience applying egg tempera, building opacity, and turning form before going into our main paintings.
In this lesson we are going to paint over our ink spheres in egg tempera! We will gain experience applying egg tempera, building opacity, and turning form before going into our main paintings.
-
Rhythm And Movement
Learn how to develop a proficient way of building layers quickly with egg tempera. By developing a rhythm of moving around the painting, constantly working in different areas, and circling back as it dries, you can maximize your time and efforts.
Learn how to develop a proficient way of building layers quickly with egg tempera. By developing a rhythm of moving around the painting, constantly working in different areas, and circling back as it dries, you can maximize your time and efforts.
-
How Thick Should A Brushstroke Be?
A quick and important lesson on the ideal thickness for an egg tempera layer.
A quick and important lesson on the ideal thickness for an egg tempera layer.
-
First Passes Over Ink
Julio demonstrates how he begins painting in egg tempera over the developed ink underpainting. He starts with broad washes of generalized local color, then works into the primary darks, developing a base for further painting.
Julio demonstrates how he begins painting in egg tempera over the developed ink underpainting. He starts with broad washes of generalized local color, then works into the primary darks, developing a base for further painting.
-
Early Layers - Part 1 - Secondary Darks
In this video Julio continues to build the early layers of his egg tempera painting, moving into the secondary darks and building the first touches of color and opacity.
In this video Julio continues to build the early layers of his egg tempera painting, moving into the secondary darks and building the first touches of color and opacity.
-
Early Layers - Part 2 - Building The Base Layers
In this video, Julio demonstrates the next stage of an early egg tempera painting, moving from the secondary darks into the transitional mid tones, mid lights, and all over color. He focuses on moving fast and covering the underdrawing in an intentional and methodical way, building a solid base layer of tempera on the face, neck and hair.
In this video, Julio demonstrates the next stage of an early egg tempera painting, moving from the secondary darks into the transitional mid tones, mid lights, and all over color. He focuses on moving fast and covering the underdrawing in an intentional and methodical way, building a solid base layer of tempera on the face, neck and hair.
-
-
-
Introduction To Building Mid-Tones
A brief introduction to building your mid tones, detailing what to expect from the lessons, and where your painting should be by the completion of this module.
A brief introduction to building your mid tones, detailing what to expect from the lessons, and where your painting should be by the completion of this module.
-
Gradient Exercise 1
Learn foundational techniques for blending colors seamlessly by painting gradient strips, focusing on smooth transitions and brush control. This is an exercise for you to recreate in your stone paper notebooks.
Learn foundational techniques for blending colors seamlessly by painting gradient strips, focusing on smooth transitions and brush control. This is an exercise for you to recreate in your stone paper notebooks.
-
Gradient Exercise 2
Build on your blending skills with another gradient strip exercise, exploring smooth transitions between colors and values. This is another exercise for you to recreate in your stone paper notebooks.
Build on your blending skills with another gradient strip exercise, exploring smooth transitions between colors and values. This is another exercise for you to recreate in your stone paper notebooks.
-
Glazing And Opalescence Exercise
Discover techniques for adjusting color opacity and translucency, and explore the differences between opalescent and glazed layers in this tutorial. This is an exercise for you to recreate in your stone paper notebook.
Discover techniques for adjusting color opacity and translucency, and explore the differences between opalescent and glazed layers in this tutorial. This is an exercise for you to recreate in your stone paper notebook.
-
Building Mid-Tones
In this lesson, you are guided through building mid-tones in an egg tempera painting, transitioning from delicate, watercolor-like early layers into "the ugly stage", where a mix of opaque, opalescent, and translucent areas creates a complex foundation for general opacity.
In this lesson, you are guided through building mid-tones in an egg tempera painting, transitioning from delicate, watercolor-like early layers into "the ugly stage", where a mix of opaque, opalescent, and translucent areas creates a complex foundation for general opacity.
-
Building Mid-Tones Part 2
In this lesson, Julio demonstrates how to develop mid-tones in an egg tempera painting, guiding artists through the process of building overall opacity.
In this lesson, Julio demonstrates how to develop mid-tones in an egg tempera painting, guiding artists through the process of building overall opacity.
-
-
-
A quick introduction to the module Further Refinement.
-
Glazing Exercise Part 1 - Ready To Glaze
In this exercise, we show you how to paint 2 spheres, one using Pyrrole Red, the other using your PR 101 or Burnt Sienna. These will be the base for glazing practice to come in the next 2 video lessons. Through this series of 3 lessons you will learn how to glaze, and two ways to build vibrant, rich, layered color.
In this exercise, we show you how to paint 2 spheres, one using Pyrrole Red, the other using your PR 101 or Burnt Sienna. These will be the base for glazing practice to come in the next 2 video lessons. Through this series of 3 lessons you will learn how to glaze, and two ways to build vibrant, rich, layered color.
-
Glazing Exercise Part 2 - How To Glaze
Learn how to utilize glazing techniques to enhance color, complexity, richness and depth in your paintings. In a series of glazing demos, you will learn the proper way to create and apply glazes.
Learn how to utilize glazing techniques to enhance color, complexity, richness and depth in your paintings. In a series of glazing demos, you will learn the proper way to create and apply glazes.
-
Glazing Exercise Part 3 - Final Glazes
In this final lesson on glazing, you experience the results of layered color. It is surprising to see the difference in two methods of building red, imagine how exciting and rewarding it will be to experiment with building layered color in your egg tempera paintings to come!
In this final lesson on glazing, you experience the results of layered color. It is surprising to see the difference in two methods of building red, imagine how exciting and rewarding it will be to experiment with building layered color in your egg tempera paintings to come!
-
Troubleshooting Holes
In this very important lesson, learn all about a pesky problem most egg tempera artists face at one time or another... holes. Find out how they happen, how to avoid them, and how to fix them.
In this very important lesson, learn all about a pesky problem most egg tempera artists face at one time or another... holes. Find out how they happen, how to avoid them, and how to fix them.
-
Small Transitions - The Early Refinement Of Important Details
In this segment, Candice shares some great tips and things to think about at this stage of the painting. Julio spends a fair amount of time refining some of the more important details of the painting, such as the eyes, nose, and mouth, to move the painting forward and get closer to final resolution.
In this segment, Candice shares some great tips and things to think about at this stage of the painting. Julio spends a fair amount of time refining some of the more important details of the painting, such as the eyes, nose, and mouth, to move the painting forward and get closer to final resolution.
-
Adjusting The Warms And Cools
In this lesson, Julio works on modulating the skin tones, neutralizing some of the exciting color of the early layers with some earthy creams, and accentuating the warms and cools according to the light source. It is a great cue for you to look for warms and cools in your piece, and make sure that you are following a cohesive light logic throughout your piece.
In this lesson, Julio works on modulating the skin tones, neutralizing some of the exciting color of the early layers with some earthy creams, and accentuating the warms and cools according to the light source. It is a great cue for you to look for warms and cools in your piece, and make sure that you are following a cohesive light logic throughout your piece.
-
Bringing Up The Background
In this important segment, Julio brings up the finish in the background. He discusses the importance of creating variety in both the scale and appearance of your brushwork in order to create visual interest and an appealing looseness. This often overlooked concept can be utilized to loosen up areas that feel too tight (giving the eye a place to rest), and draw focus to areas of interest in your painting.
In this important segment, Julio brings up the finish in the background. He discusses the importance of creating variety in both the scale and appearance of your brushwork in order to create visual interest and an appealing looseness. This often overlooked concept can be utilized to loosen up areas that feel too tight (giving the eye a place to rest), and draw focus to areas of interest in your painting.
-
Nourishing Layers - Making The Medium
In the next three lessons we are going to teach you all about nourishing layers for egg tempera, which can be thought of almost as a retouch varnish. We discuss what they are, when to use them, how to make them, how to apply them, and how to adjust them if necessary.
In the next three lessons we are going to teach you all about nourishing layers for egg tempera, which can be thought of almost as a retouch varnish. We discuss what they are, when to use them, how to make them, how to apply them, and how to adjust them if necessary.
-
Applying Nourishing Layers
In this second video about nourishing layers, Julio applies the nourishing layer, and shows you the proper technique for a seamless application. Candice discusses when to apply a nourishing layer, and how often you might want to utilize it in your work.
In this second video about nourishing layers, Julio applies the nourishing layer, and shows you the proper technique for a seamless application. Candice discusses when to apply a nourishing layer, and how often you might want to utilize it in your work.
-
Nourishing Layer Refinements
In this final video relating to nourishing layers, we discuss ways you can further refine the appearance of your painting after a nourishing layer. If your painting still appears to be overly dry and thirsty, applying a second nourishing layer may be a good option to further bind and saturate all areas. Julio demonstrates another option, which is to lightly unify all areas of the painting with a light polish using a bit of ultra fine grade cheesecloth.
In this final video relating to nourishing layers, we discuss ways you can further refine the appearance of your painting after a nourishing layer. If your painting still appears to be overly dry and thirsty, applying a second nourishing layer may be a good option to further bind and saturate all areas. Julio demonstrates another option, which is to lightly unify all areas of the painting with a light polish using a bit of ultra fine grade cheesecloth.
-
-
-
A quick introduction to our final painting module!
-
Fine Details
More fine details, subtle nuances, and thoughtful moves to bring the painting closer to the finish.
More fine details, subtle nuances, and thoughtful moves to bring the painting closer to the finish.
-
A Focus On The Finish
Improving the painting one brushstroke at a time, Julio shares great insight on all of his work throughout this stage of the painting.
Improving the painting one brushstroke at a time, Julio shares great insight on all of his work throughout this stage of the painting.
-
Subtle Shifts In Temperature And Value
It's all about subtle shifts in value and color at this stage, and WOW does it make a difference!
It's all about subtle shifts in value and color at this stage, and WOW does it make a difference!
-
The End Of The Beginning
In this final painting demo Julio shows you that it is NEVER too late to fix an error in your painting, and demonstrates how to do that seamlessly. Candice describes approaching the finish, and how that will look and feel a little different for every artist.
In this final painting demo Julio shows you that it is NEVER too late to fix an error in your painting, and demonstrates how to do that seamlessly. Candice describes approaching the finish, and how that will look and feel a little different for every artist.
-
A quick lesson on how to sign your work.
-
The Final Nourishing Layer
When your work is complete, it is often a good idea to give it one last light nourishing layer to create an even and unified surface. Candice shows you how it changes the look of Julio's painting in this quick demonstration.
When your work is complete, it is often a good idea to give it one last light nourishing layer to create an even and unified surface. Candice shows you how it changes the look of Julio's painting in this quick demonstration.
-
The Silk Polish
In this lesson, we discuss finishes for egg tempera paintings, including a traditional silk polish. We demonstrate how to perform a silk polish, and show you the final results.
In this lesson, we discuss finishes for egg tempera paintings, including a traditional silk polish. We demonstrate how to perform a silk polish, and show you the final results.
-
CONGRATULATIONS!
C O N G R A T U L A T I O N S !!!!!!!
We share how proud we are of you for going through the entire course and completing your first painting in egg tempera!
C O N G R A T U L A T I O N S !!!!!!!
We share how proud we are of you for going through the entire course and completing your first painting in egg tempera!
-
After This Course
A final word from Julio and Candice, where we tell you the one thing that can make you improve your skills in egg tempera FAST. We share resources for further learning and engaging in a community of other egg tempera artists, and say goodbye once more. Please comment below or email any feedback you have for our course, we would love to hear if it was helpful for you!!!
A final word from Julio and Candice, where we tell you the one thing that can make you improve your skills in egg tempera FAST. We share resources for further learning and engaging in a community of other egg tempera artists, and say goodbye once more. Please comment below or email any feedback you have for our course, we would love to hear if it was helpful for you!!!
-
-
-
Selecting Your Wood Substrate
In this video we will discuss various types of wood commonly used for egg tempera panels. We let you know which type we are using in this tutorial, all the reasons why we picked that substrate, and where you can procure it for yourself.
In this video we will discuss various types of wood commonly used for egg tempera panels. We let you know which type we are using in this tutorial, all the reasons why we picked that substrate, and where you can procure it for yourself.
-
Preparing Rabbit Skin Glue
In this quick lesson we prepare rabbit skin glue for sizing our panels. The ratio we are using is 1 tablespoon rabbit skin glue granules to 1 cup of room temperature distilled water. We will mix these together and let it sit overnight in the refrigerator, until needed.
In this quick lesson we prepare rabbit skin glue for sizing our panels. The ratio we are using is 1 tablespoon rabbit skin glue granules to 1 cup of room temperature distilled water. We will mix these together and let it sit overnight in the refrigerator, until needed.
-
Preparing True Gesso
n this lesson we prepare traditional chalk gesso, using Rublev Easy Gesso. We also share a recipe from Koo Schadler's book for traditional chalk gesso for anyone who wants to put it all together themselves, or who can not source Easy Gesso in their location. That recipe is also attached below:
n this lesson we prepare traditional chalk gesso, using Rublev Easy Gesso. We also share a recipe from Koo Schadler's book for traditional chalk gesso for anyone who wants to put it all together themselves, or who can not source Easy Gesso in their location. That recipe is also attached below:
-
Sanding And Cleaning The Panel
In this video we will prepare the panel for rabbit skin glue sizing and the application of gesso. We start by sanding all sides with a 320 grit sandpaper, then lightly chamfer the edges with a rougher grit, and finish by cleaning the surface thoroughly with isopropyl alcohol.
In this video we will prepare the panel for rabbit skin glue sizing and the application of gesso. We start by sanding all sides with a 320 grit sandpaper, then lightly chamfer the edges with a rougher grit, and finish by cleaning the surface thoroughly with isopropyl alcohol.
-
Applying The Rabbit Skin Glue
In this lesson, we liquify our rabbit skin glue by gently heating it in a warm bath, then we apply it to all sides of the panel and let it sit overnight to fully dry and harden.
In this lesson, we liquify our rabbit skin glue by gently heating it in a warm bath, then we apply it to all sides of the panel and let it sit overnight to fully dry and harden.
-
Applying True Gesso
In this lesson we are going to show you how to apply each layer of true gesso to your panel, from the first to the last. We will discuss how many layers you will want to apply, the proper way to liquify your gesso, and the importance of finessing the first layer. We show you how to avoid pinholes and how to deal with them if they occur.
In this lesson we are going to show you how to apply each layer of true gesso to your panel, from the first to the last. We will discuss how many layers you will want to apply, the proper way to liquify your gesso, and the importance of finessing the first layer. We show you how to avoid pinholes and how to deal with them if they occur.
-
Sanding A Finished True Gesso Panel
In this lesson, we share with you a technique for sanding true gesso panels for a fine, silky smooth finish. We also discuss what happens if you discover pinholes, what sanding grits to use, and how to store finished panels.
In this lesson, we share with you a technique for sanding true gesso panels for a fine, silky smooth finish. We also discuss what happens if you discover pinholes, what sanding grits to use, and how to store finished panels.
-
Rublev Tempera Ground on ACM
In this video, we share with you the method for making your own Rublev Tempera Ground panels. This modern product is a good alternative for traditional chalk gesso, and very easy to use. We have used it for a ton of egg tempera paintings, and we are excited to share this information with you. In this video, we focus on using ACM as a substrate, explaining why it is our FAVORITE substrate for painting, and why it may become yours as well!
In this video, we share with you the method for making your own Rublev Tempera Ground panels. This modern product is a good alternative for traditional chalk gesso, and very easy to use. We have used it for a ton of egg tempera paintings, and we are excited to share this information with you. In this video, we focus on using ACM as a substrate, explaining why it is our FAVORITE substrate for painting, and why it may become yours as well!
-
Stone Paper
Enjoy this deep dive into stone paper! We talk about stone paper, what is it, and how to use it for quick sketches, studies, and finished works in egg tempera and almost any other medium you can think of.
Enjoy this deep dive into stone paper! We talk about stone paper, what is it, and how to use it for quick sketches, studies, and finished works in egg tempera and almost any other medium you can think of.
-
Museum Board
Enjoy this bonus lesson pulled directly from our Patreon all about museum board! In this lesson, Julio shares his experiences with working on museum board, as well as brief videos of him painting on it, and Candice shares an update about preparing the surface that is helpful for any who would like to alter the surface in some way to make it more like true gesso.
Enjoy this bonus lesson pulled directly from our Patreon all about museum board! In this lesson, Julio shares his experiences with working on museum board, as well as brief videos of him painting on it, and Candice shares an update about preparing the surface that is helpful for any who would like to alter the surface in some way to make it more like true gesso.
-
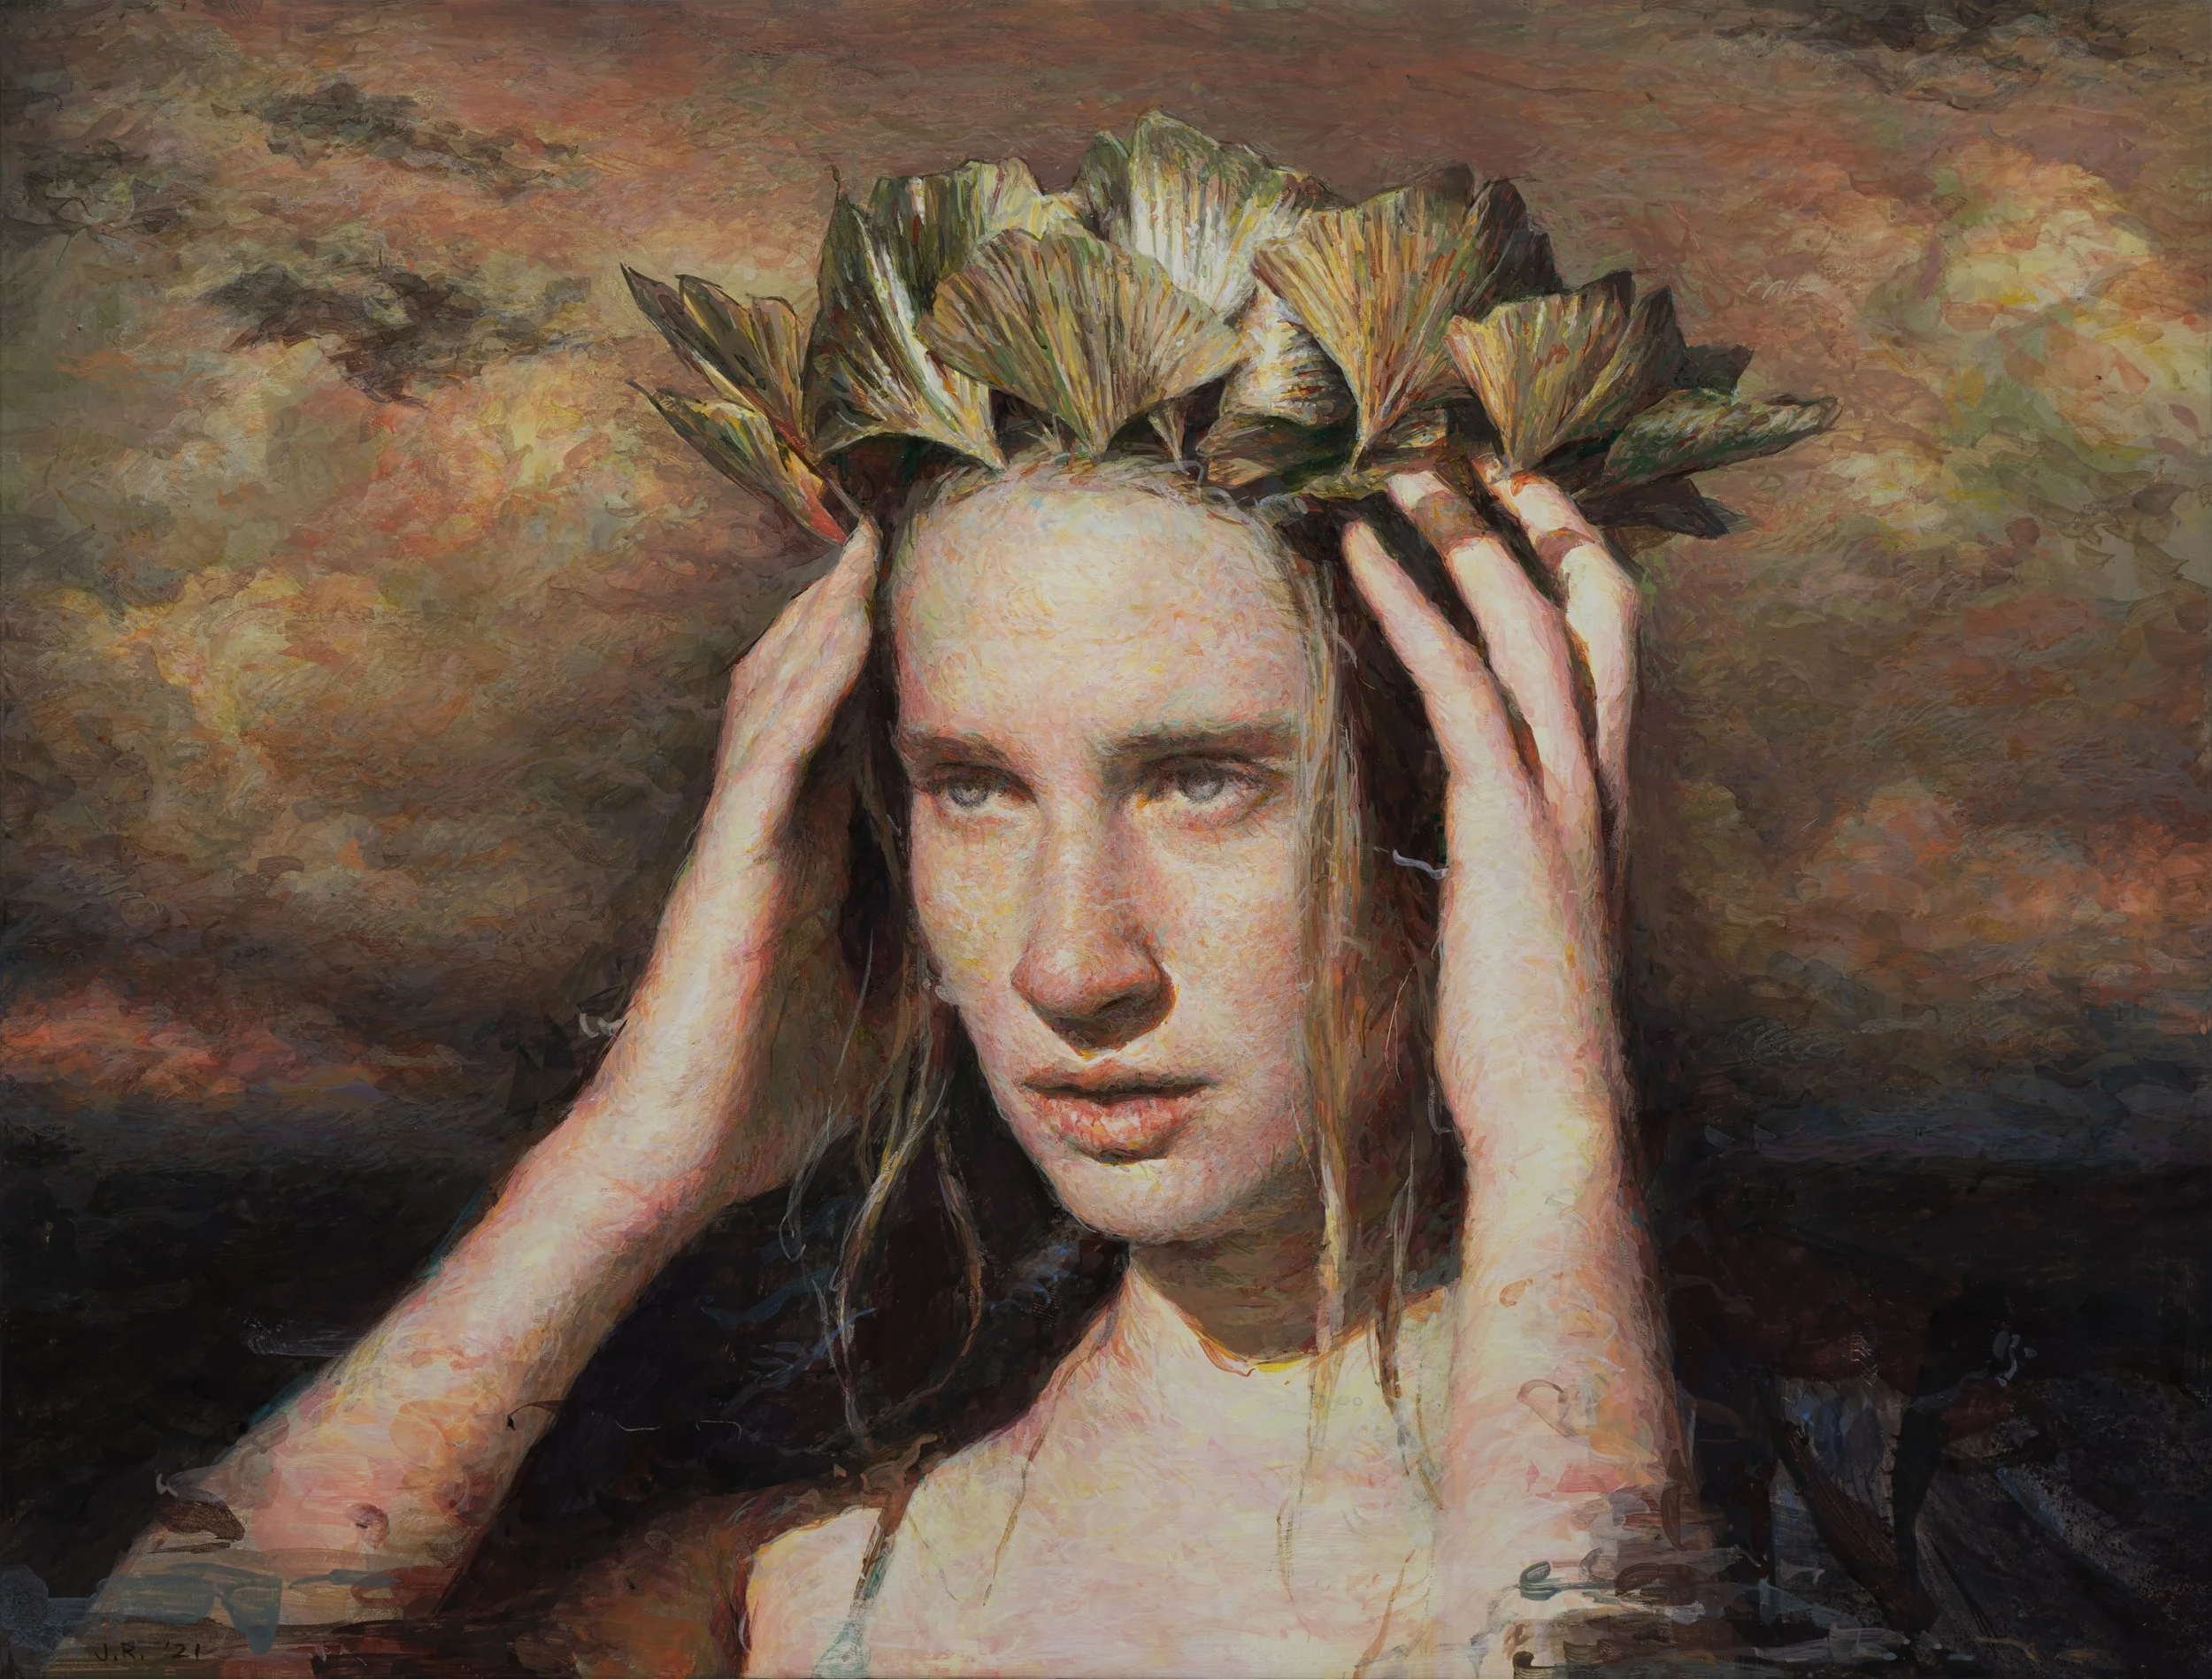
Unlock the secrets of egg tempera with this incredible course.
Don’t let another year slip by without diving into this timeless art form! We will guide you through a straightforward way to dive into egg tempera, sparking your creative journey from the very first step. We will break down the complexities of the medium, making it welcoming and easy for anyone curious to explore.
You will learn how to lay a solid foundation with a strong underdrawing, speed up your process with an ink underpainting, and layer tempera to achieve vivid colors and expressive depth. You will master the creation of your own painting surfaces and identifying ready-made options that suit the medium perfectly, all designed to boost your confidence and growth in egg tempera.
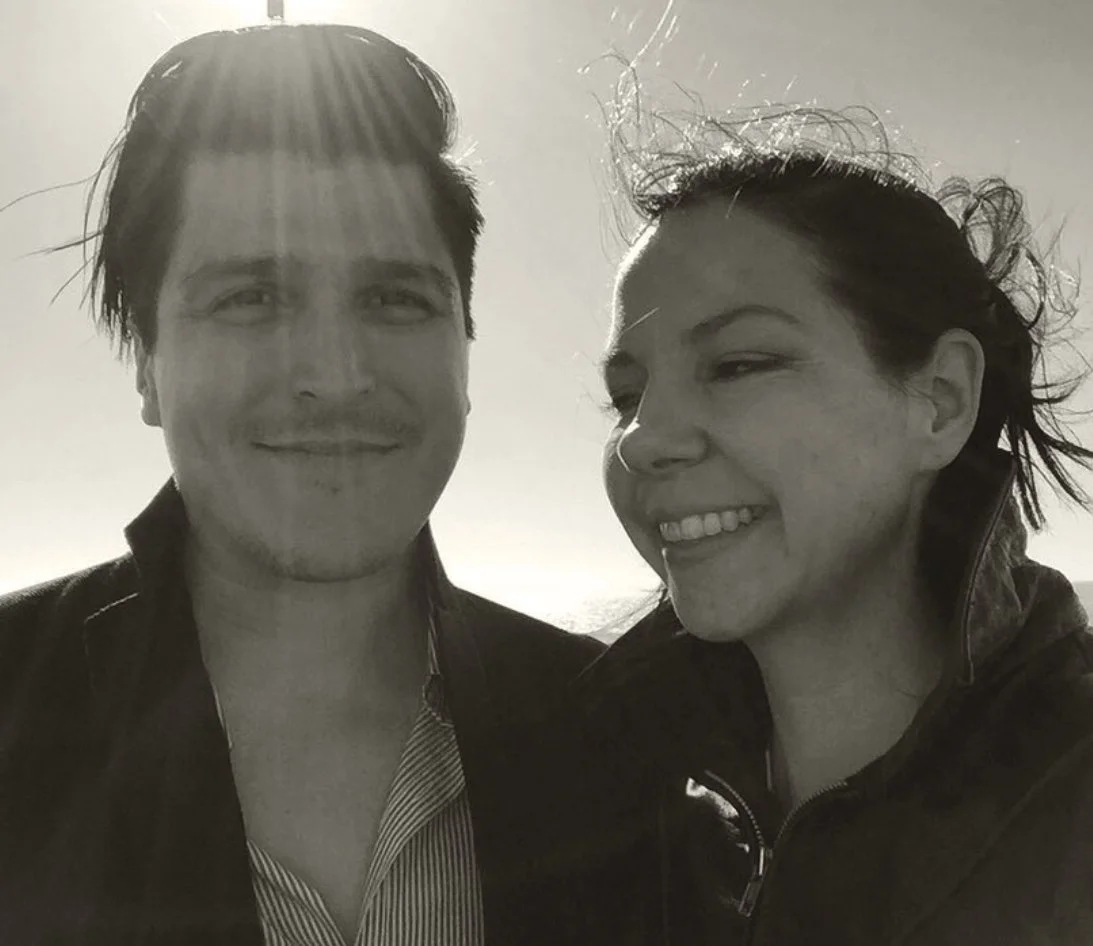
Meet The Instructors
Hi! We are Julio and Candice.
After years of working in oils, we discovered egg tempera when we needed a change and quickly fell in love with its precision, beauty, and depth.
We both studied Painting, Design, Sculpture, and Philosophy at the Laguna College of Art and Design, where we met, fell in love, and began a lifelong journey in the arts together. Since then, we’ve dedicated our lives to creating, growing, and, now, sharing what we’ve learnt with others.
Over the years, we’ve exhibited widely and been featured in major fine art publications like Fine Art Connoisseur, American Art Collector, Southwest Art Magazine, Poets & Artists, and Artist’s Magazine. Julio has been honored with top awards from the Portrait Society of America, the Art Renewal Center, and the Bennington, and has proudly exhibited with Arcadia Contemporary in New York ever since being discovered by the gallery.
In this course, we’ll guide you step by step through the essentials of egg tempera painting. You’ll learn how to mix your own paints, build a strong underdrawing, layer tempera for vibrant color, and blend form with confidence.
Whether you’re brand new to the medium or looking to deepen your skills, this course is designed to help you paint with clarity, purpose, and joy.
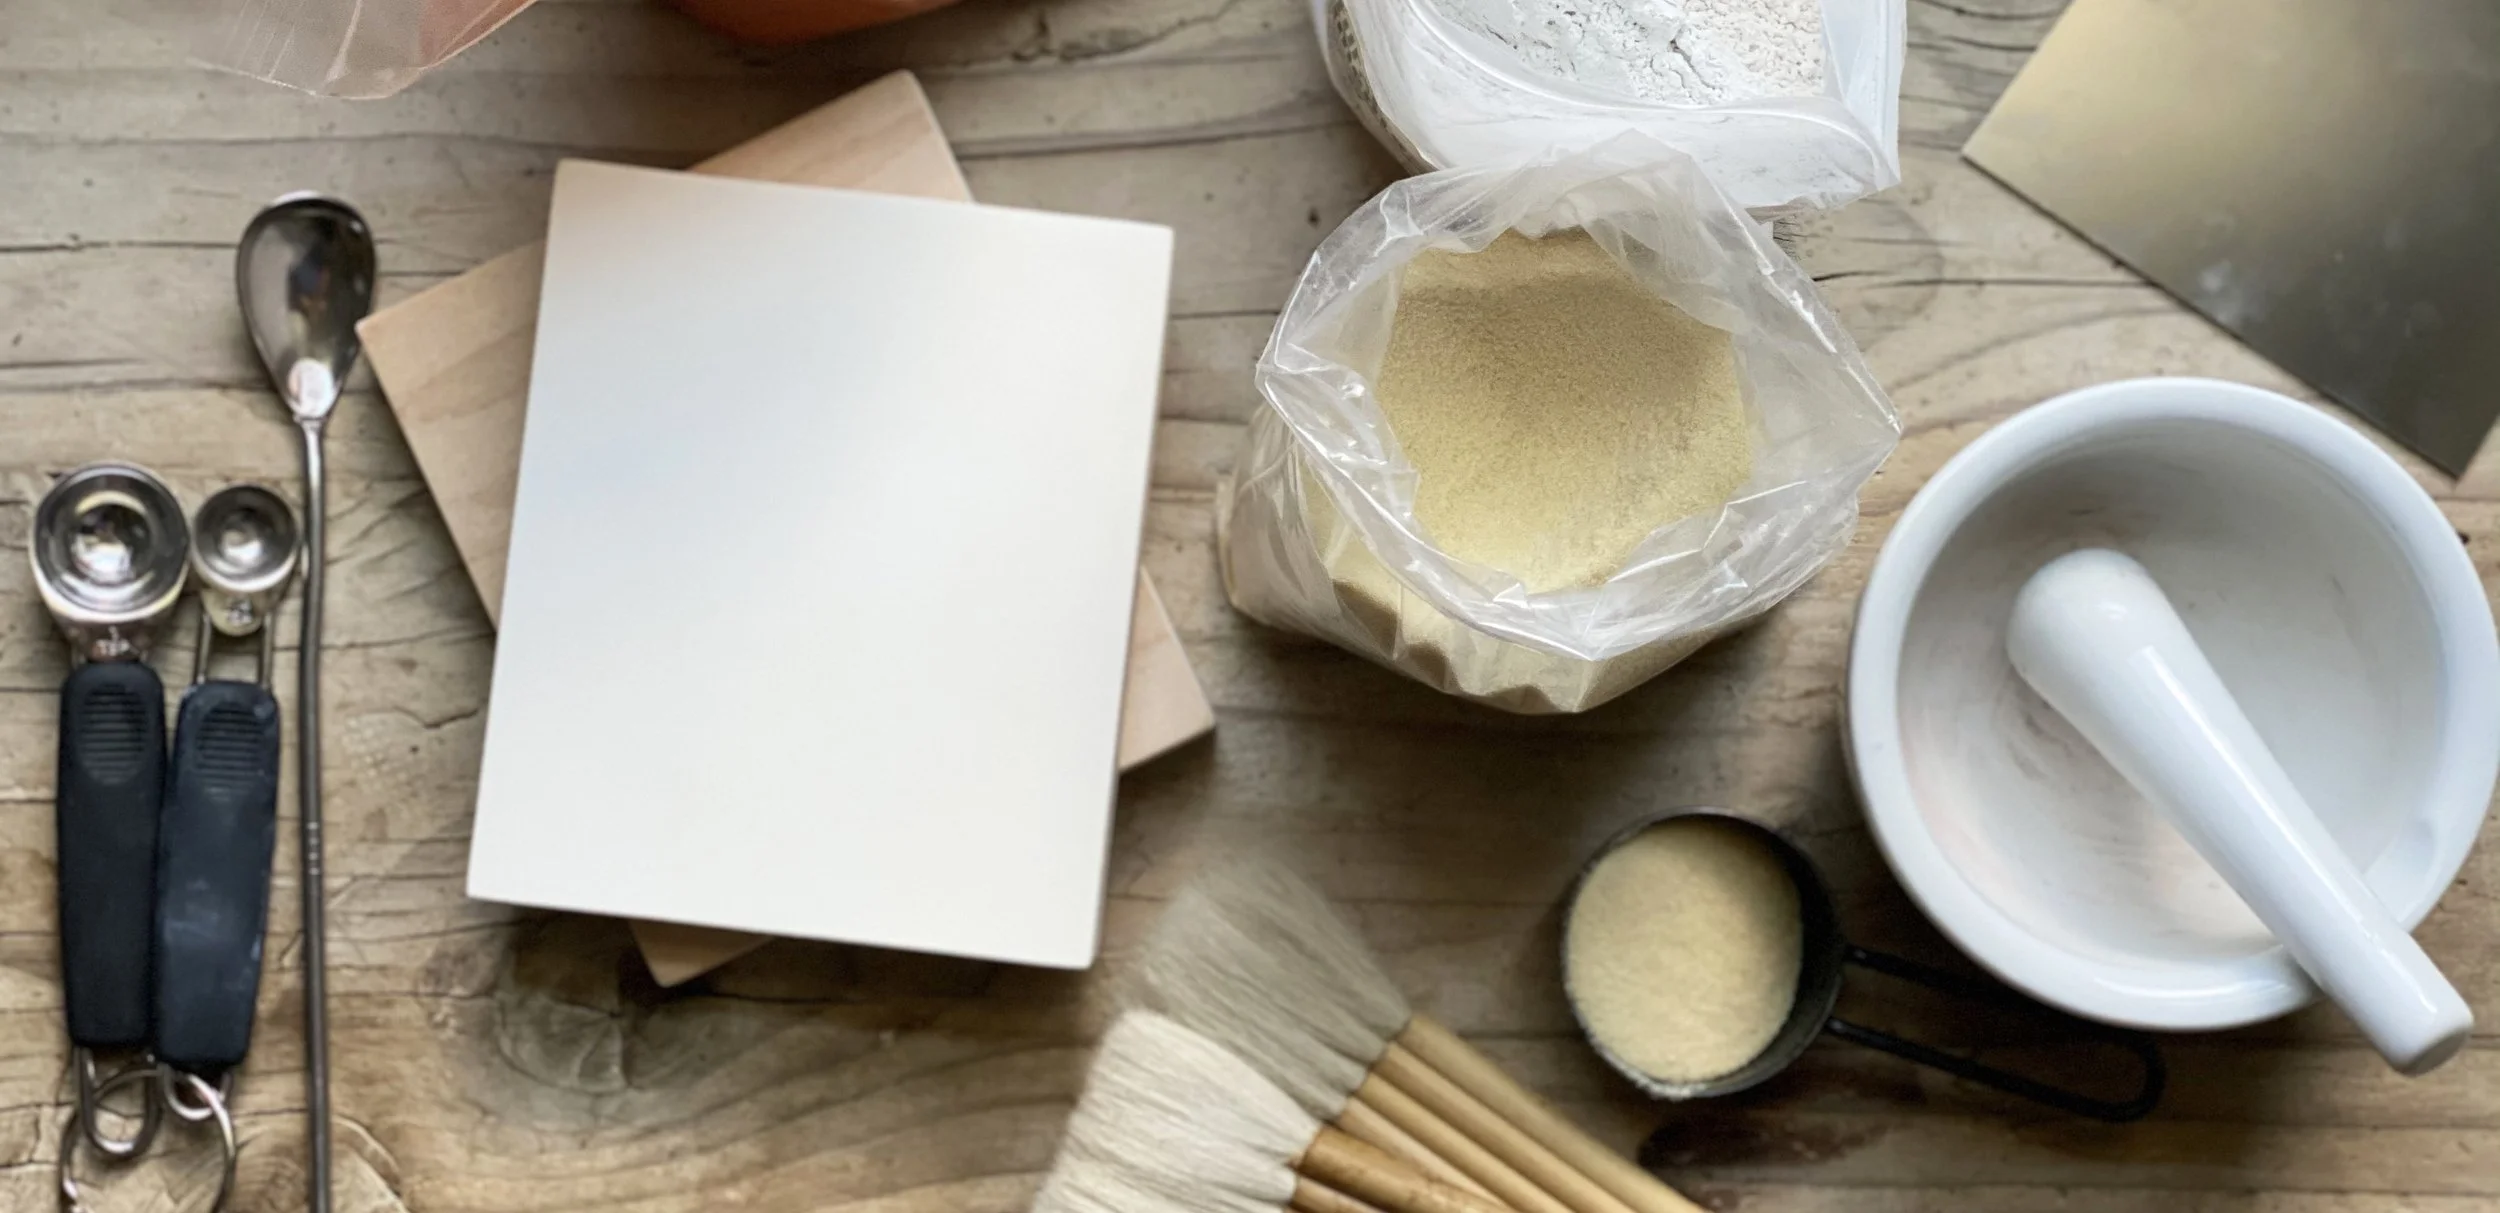
Structured Precision, Every Step
Master the Egg Tempera ProcessLearn to create your own egg tempera paints from scratch and handle this historic medium with confidence. You’ll know how to mix pigments and apply them in thin, luminous layers to build depth and vibrant color in your work.
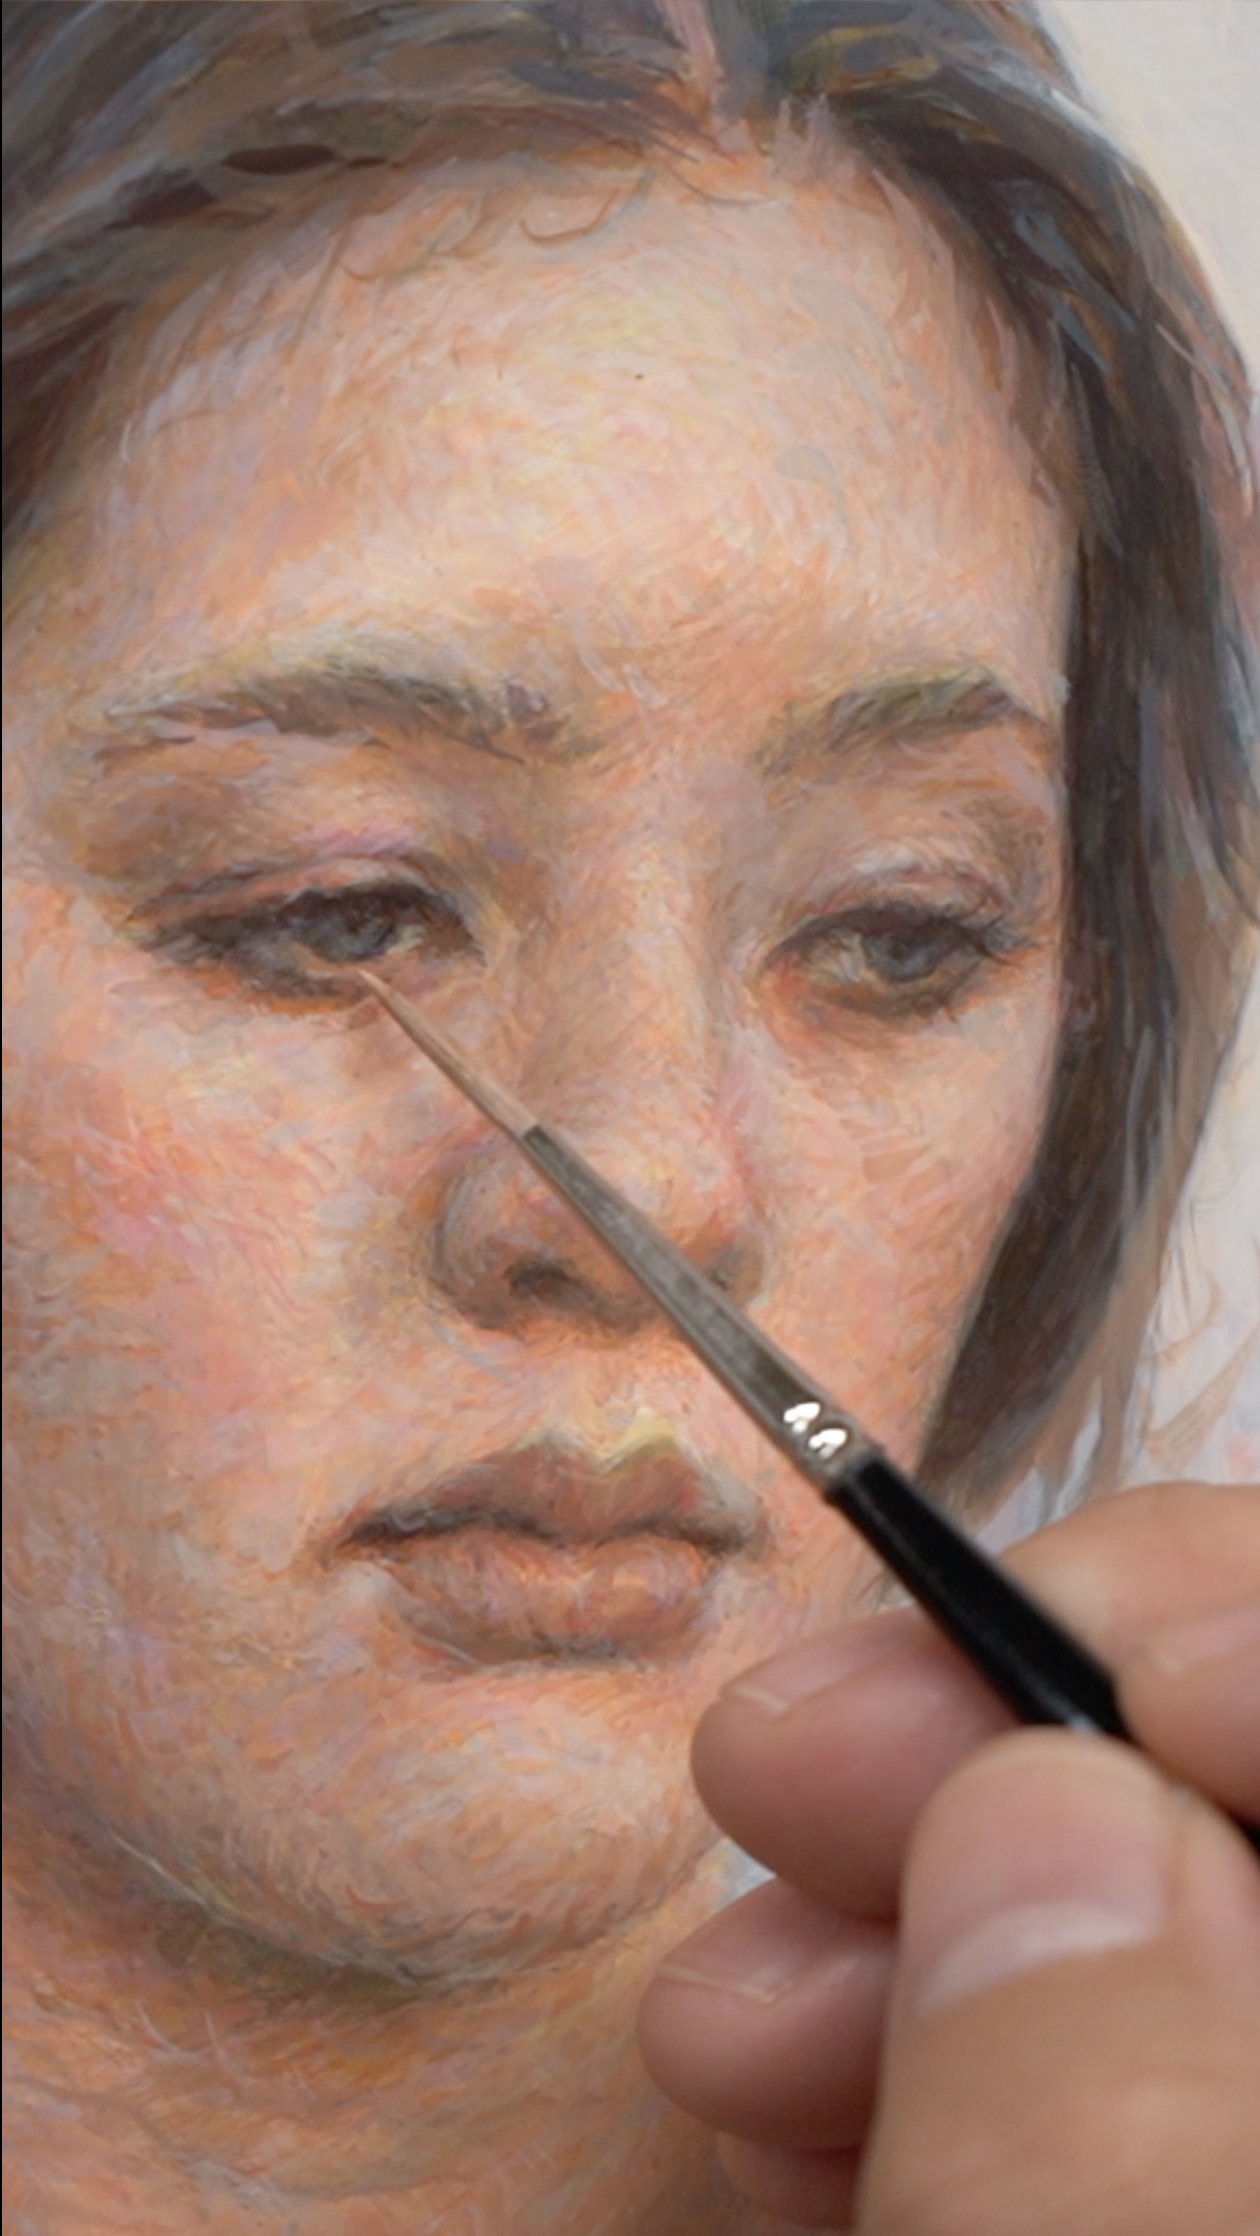
Build Strong Foundations for RealismDevelop a disciplined approach to underdrawing and underpainting using graphite and ink to map out accurate proportions and tonal structure. These foundational steps will help you bring clarity and intention to every painting you start.
Create Your Ideal Painting SurfaceDiscover how to craft your own traditional painting panels or choose high-quality ready-made alternatives suited for egg tempera. With the right surface beneath your brush, you’ll gain better control, longevity, and brilliance in your artwork.
Value Beyond Expectation
+9 hours of content
+80 video lessons
9 modules
30-Day money back guarantee
Lifetime access
Access to the private community
Access on any device
Our Support
Bonus module: Making Egg Tempera Panels ($97 FREE)
Clarity Backed by Expertise
This is a self-paced course. This means the content is made of pre-recorded videos you can watch whenever you want, at your speed. Learning with an on-demand course, you can pause, re-start and re-watch anytime, going directly to your favorite subjects or to the most challenging techniques until you master them!
Is the course live?
1
The course will be yours FOREVER! You can watch the videos as many times as you want for no additional cost.
How long will I have access to the course?
2
You should start this journey with us because we’ve poured years of professional experience and passion into making Egg Tempera for Beginners a truly accessible and in-depth course. We’ll guide you through every step—from understanding your materials to mastering painting techniques like glazing, blending, and building depth with midtones. Whether you’re new to egg tempera or seeking to refine your skills, this course offers a clear, structured path. You'll not only gain technical skills, but also develop the confidence to express your artistic voice using this timeless medium.
Why should I start this journey with you?
3
Do you have a refund policy?
4
The course purchase comes with a 30-day satisfaction guarantee. No questions asked. Painting should be entertaining and relaxing, and that's our top priority.
Are subtitles available?
5
Yes, subtitles are available in English.
Endorsements of Egg Tempera For Beginners
-
“I 10/10 would recommend. Feels like being an intern in the studio. Or an apprentice to a couple of modern day experienced renaissance painters."
Course Member Feedback
-
“I'm a 70 year old retired art teacher/art director/illustrator/photo retoucher and I found so many helpful ideas in this course. My life after college has been focused on color it seems, from retouching photos for major magazines to teaching color and art in general to high school students, and I am very grateful for the knowledge presented in this course.”
Course Member Feedback
-
“I would recommend it! Covers everything needed to work in egg tempera in a professional and comprehensive manner. The painting style is beautiful, which by the way was what had me sign up for the class initially. Thank you!.”
Course Member Feedback